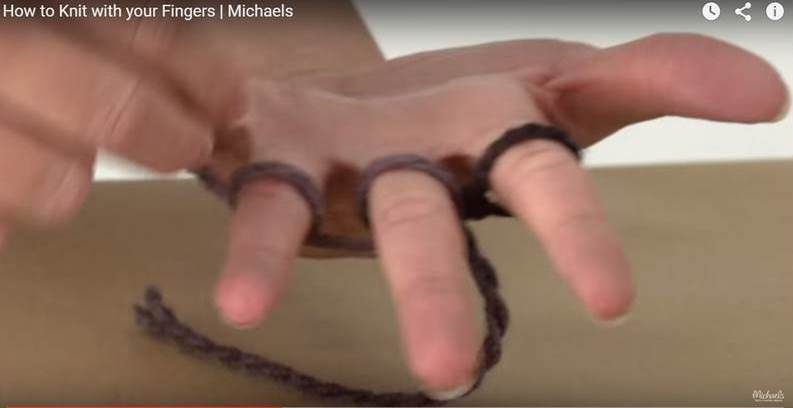
You simply start with one finger (the index finger) as the anchor finger. Pull out a generous length of yarn and and place it between the thumb and index finger on the inside of the palm. Hold the yarn with your thumb as you wrap the yarn around the index finger twice. Next, place the yarn strand across the bottom of your fingers as you take the bottom wrapped yarn and place it over the index finger, and pull it tight. That becomes your anchor stitch. Then, place the first yarn strand (the one you started with) to the back of the palm. Next, you take the strand of yarn with the anchor stitch and loop yarn from the back of the hand clockwise around each finger (as shown in the video). Then, you make a second row counter clockwise around the three middle fingers, beginning with the ring finger. Loop up and over each finger, lifting the bottom loop and moving it above the top loop and over the finger. For the next row, wrap the yarn clockwise around the fingers to the right, starting with the middle finger, then to the ring finger, then the pinkie finger. Starting with the pinkie finger, lift the bottom loop over the top loop. For the start of the next row, you wrap the yarn clockwise starting with the ring finger, and so on. Then, for the next row, you wrap the yarn clockwise starting with the pinkie finger, and repeat the process until you have the desired length and it is time to cast off. Of course, this all sounds pretty complex. So, watch the video a few times until you really get the hang of the process.
Featured photo credit: Michaels video on how to finger knit. via youtu.be
