Step 1: What Do You Need?
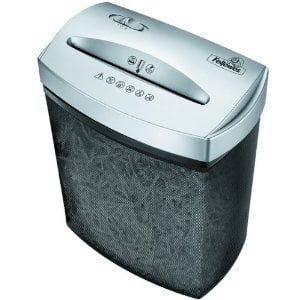
First off, you need to round up your tools for digitizing the large load. A good shredder is important—many individuals feel that if the document is simply thrown away and mixed with the trash, they are safe, but that isn’t the case. Thieves and criminals can and will go into your trash to steal documents containing compromising information.
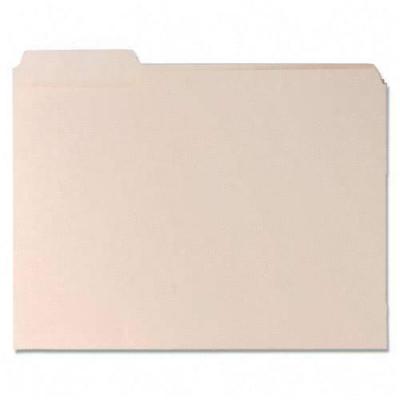
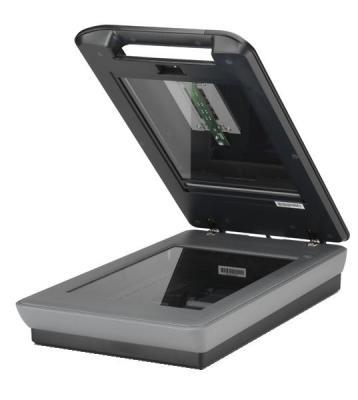
You’ll also want to look into investing in a good set of manila files. Even though our main mission is to cut the amount of paper in your life, not everyone understands this mission, and you may need to keep an original copy of the most important of documents. Additionally, a scanner is a must in this case. This is the way in which we will digitize the documents. They don’t have to be expensive either: there are many affordable scanners on the market today, and most come along with a printer. While these are the physical things you will need, the magic is found in the software that you use.
Step 2: Service of Choice
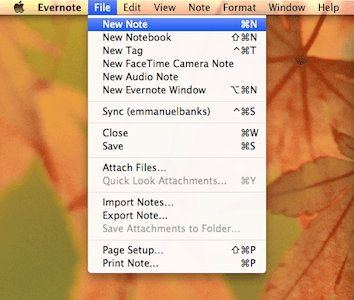
If there is anything that you get from this article, I hope that you understand the importance of Evernote in your paper-purging pursuits. If you aren’t familiar with Evernote, the note-taking application has multiple functions that allow individuals to use it for anything from group notebooks to to-do list powerhouses. However, the ability to easily add photos and documents makes this app extra appealing. Below are a couple of Evernote basics for making new notes, notebooks, adding photos/documents, and sharing your notes.
Creating a New Note
File > New Note or Command + N. To create a note in a specific notebook, click on “Notebooks” on the left hand sidebar, select the notebook you want to add a note to, then perform the steps/commands mentioned above.
Creating a New Notebook
File > New Notebook or Shift + Command + N.
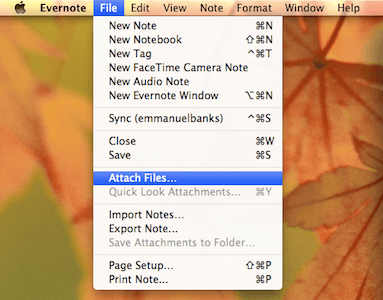
Adding Files
Click on the note you’d like to add a file to File > Attach Files…
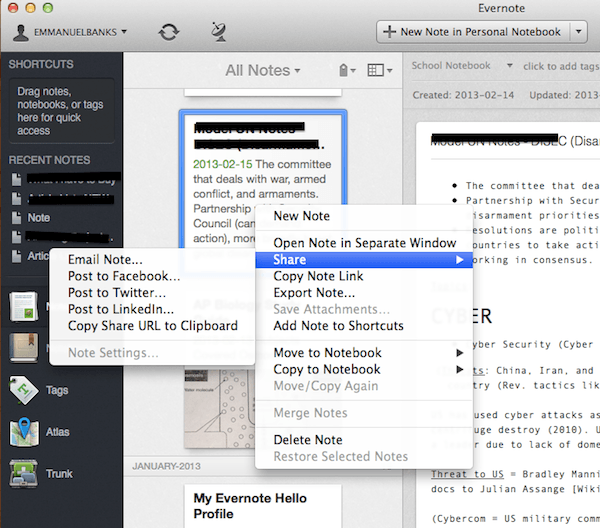
Sharing Notes
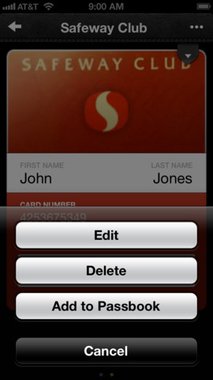
Right Click on Note > Share While this is a cross-platform solution for desktop (Windows and Mac), there are also many solutions for mobile users to cut out paper. For all mobile users, there is an Evernote version for your smartphone from Blackberry to Android, and of course iOS. Individuals who are looking for lasting solutions may want to check out Lemon Wallet. The application can be described by some as a digital wallet, by others as a receipt keeper. Both descriptions are equally accurate. When you launch Lemon Wallet, you are presented with all of the cards that you have added. The app will assist you in adding all of your cards and receipts when you launch for the first time. When you click on any card, Lemon Wallet prompts you to enter your password. Once entered, you can view your wallet, protect it when it is lost or stolen with BillGuard, and even add it to Passbook. Scrolling to the very bottom of Lemon Wallet’s homepage reveals where you can find receipts. You can sort and view them by date or category.
Step 3: Getting Started
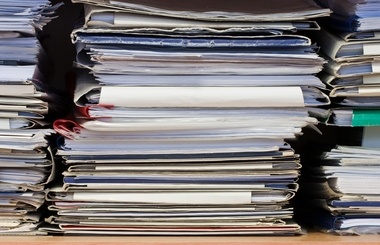
The stacks of paper are now in front of you, waiting for you to dive in. However, before we get started there are a couple of things you need to do. First off, when sorting, you are going to want to keep in mind three categories.
Crucial Paper (bills, documents, mail requiring an action) Stuff I’d Like to Keep (keepsakes, children’s drawings, photos) Junk and Clutter (old mail, notes to self*, etc)
These categories will prevent you from holding onto things that just aren’t important. Additionally, keeping in mind that you will have to scan every single piece of paper that you retain can be motivation enough to not hold on to the unnecessary notes. Once the papers are sorted, it’s now time to shred the junk and clutter paper. Once that’s out of the way, you can get started with scanning and sorting. This should be seamless and easy to do, but if have trouble, refer back to the “Service of Choice” section for the required steps. So, why did we differentiate stuff you’d like to keep from crucial papers? It’s all about the paper’s end result: all of the papers we scanned today will be shredded and thrown out, but since keepsakes and child drawings are usually sentimental, you don’t want them to end up in the trash. For this reason, before trashing the crucial papers that you wouldn’t need an original copy for, you should find a nice, dry, and safe spot for the keepsakes. A well designed shoe box will do the trick.
- Notes to self can be transferred to note taking applications like Evernote, or even applications like Stickies for short notes.
Step 4: What To Do With The Paper?
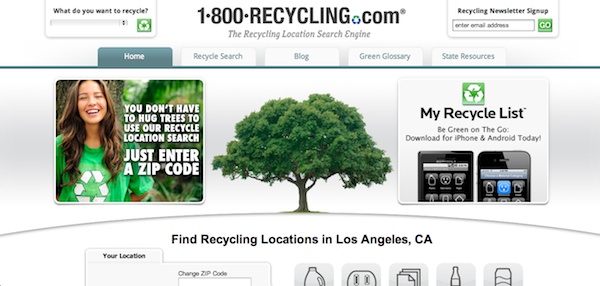
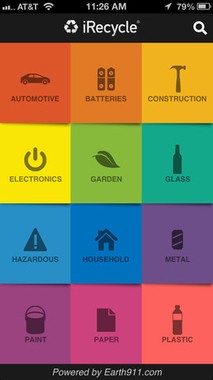
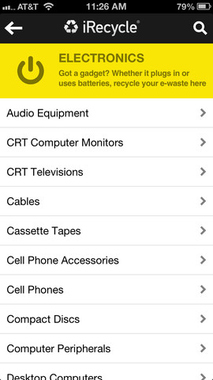
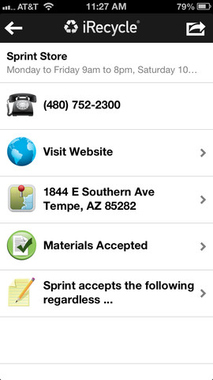
The papers are now shredded, but they aren’t out of your life just yet. What good are you doing for anyone besides yourself if you simply shred and throw out your old documents in the trashcan? You will make a larger difference by recycling the paper instead. Websites like 1800Recycling can help you discover recycling spots near you. Mobile applications like iRecycle do the same as well. The easiest route may be to recycle through your city by throwing out your shreds in your city’s designated recycling cans you may have at home, but if your city doesn’t have a recycling initiative, then the steps mentioned above will be your best bet. Clearing out your junk is a major step in spring cleaning. Let us know in the comments below what problem spots you will tackle this year, and don’t forget to share this article with your unorganized family members, friends, and coworkers.