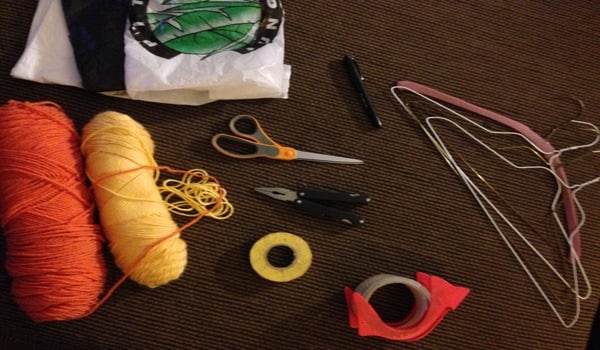
Supplies:
Garbage Bag Wire Hangers Packing, Duct, or Electrical Tape (not scotch or painters) Scissors or knife to cut garbage bag Pliers (Needlenose or otherwise) Yarn, fishing line, speaker wire (Not dental floss or sewing thread) Art Supplies for Decorating
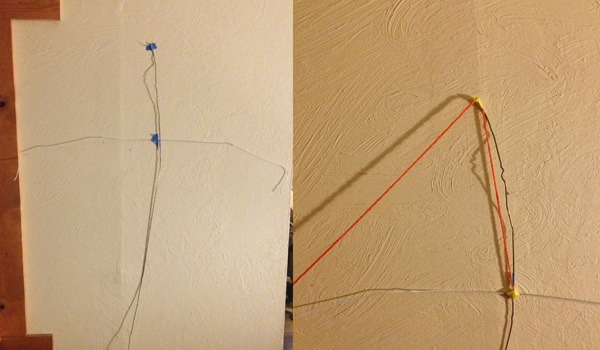
Step 1 – Using your pliers, straighten out both hangers. Don’t worry about making perfectly straight lines. The curvature in the hangers will add depth and dimension to your kite. Step 2 – Bend the ends of one hanger down (to make it shorter) Step 3 – Lay the shorter hanger across the longer hanger to form a cross. The cross hanger should be one quarter down from the top. Wrap the intersection with tape to hold it in place. Step 4 – Tie yarn around all 4 corners of your kite’s center. Pull the yarn up to the top of the vertical hanger and over to the left. At this point your kite’s skeleton should resemble the number “4” with yarn connecting two hanger ends.
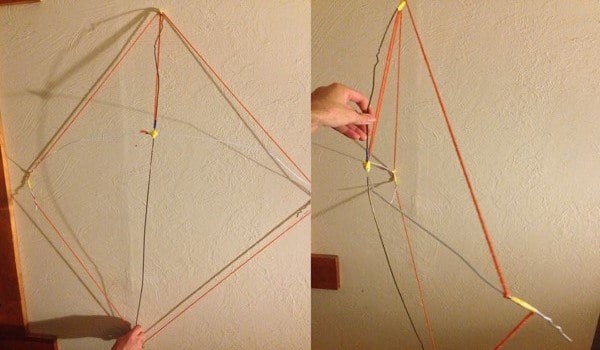
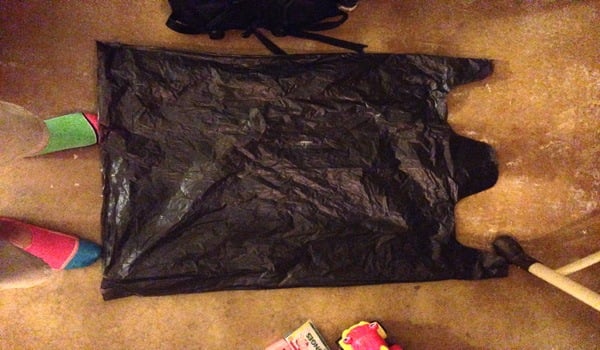
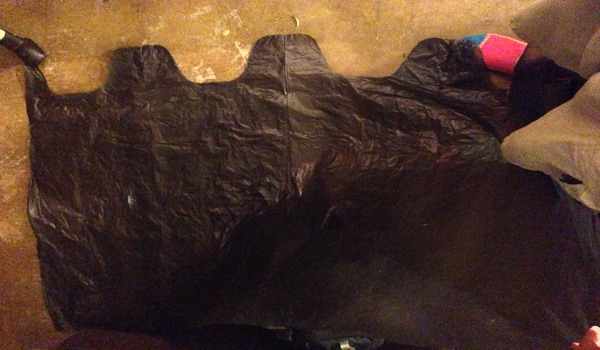
Step 5 – Continue the yarn around all for corners and back to the center from the top to complete the skeleton of the kite. Make sure the yarn is taut. Step 6 – Tighten and reshape your kite as needed. You want it to produce a slight concave shape like a shield, where the center is out farther than the edges. Step 7 – Unroll your garbage bag.
Step 8 – Cut the bottom of the garbage bag off. Step 9 – Cut the right side of the garbage bag. This will give you a flat sheet of plastic.
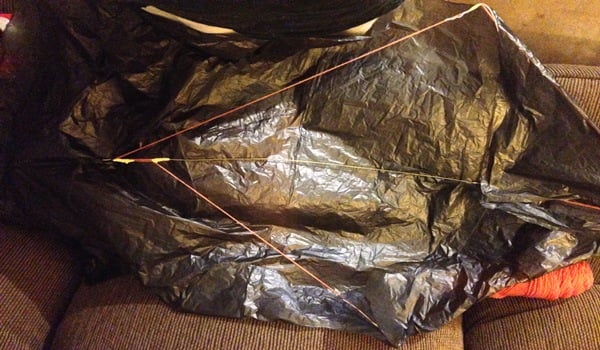
Step 10 – Lay your kite skeleton onto your opened trash bag. Step 11 – Secure the bag to the hangers using your tape. Packing tape and duct tape work better than electrical tape. Duct tape adds more weight to the kite, and in low wind situations, this is a problem. Packing tape provides the most secure connection with the least weight. Whatever tape you choose, secure the bag to the top of the frame.
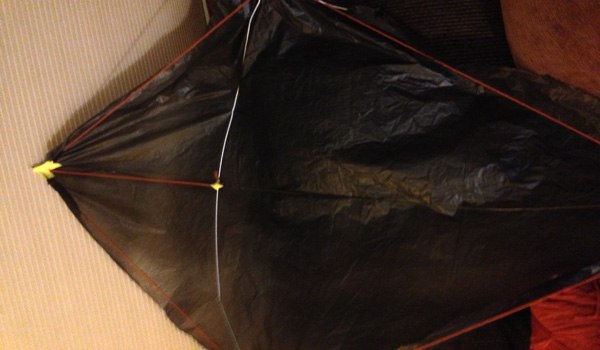
Step 13 – Use your tape to secure the bag to the frame all the way around the frame by folding the bag over the frame and rolling it under with your fingers. Tape straight across to form a solid connection.
Step 15 – Check the kite for any rips or air holes. Turn a ceiling fan on to blow air through it, shine a flashlight through it, or use whatever method you can come up with to monitor the quality of your kite. Repair air leaks with your tape.
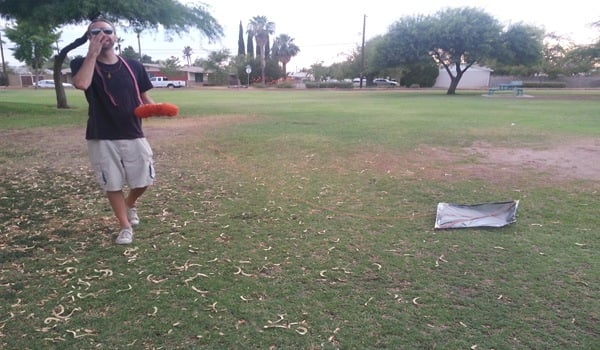
Step 16 – Plan out where you want to take your kite. I had another adult, a 2 year old, and a dog with me, so we planned our trip accordingly. Google “(Your City/State/Country) wind forecast” to find the best places to go. You want a gentle but steady breeze. Step 17 – Tie one end of yarn to the center of your kite’s frame. Hold the other end to maintain control of your kite.
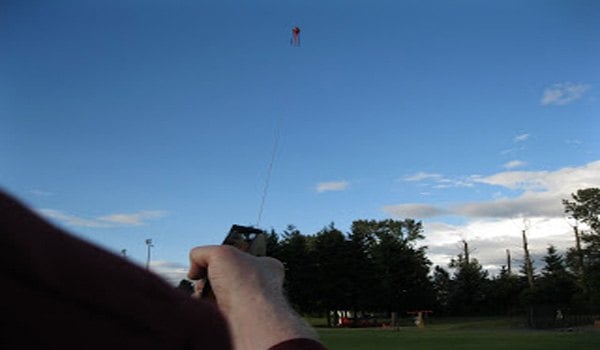
Step 17 – Fly your kite. The easiest way is with 2 people. Stand about 20-30 yards from each other. Have your friend hold the kite while you hold the string. Stand where the wind blows from you to your friend holding the kite. If you made the kite correctly, you should have no issues getting it in the air.