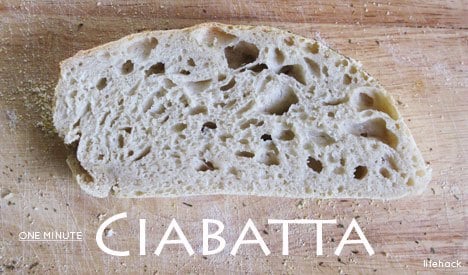
Oven-fresh bread is one of life’s simple joys. Ciabatta, a crisp-crusted Italian bread with hints of sourdough and loads of crannies longing for butter, is one of the easiest breads to make at home. Why are we talking about baking bread on Lifehack? Because kitchen hacks aren’t just impressive, they often have very tasty results! In this instance, I’m going to show you how to make ciabatta with less than one minute of prep time. How is that possible? Like many great hacks, this one uses simple ingredients and as few steps as possible to get the job done.
You may have heard of “no-knead” bread before. Mark Bittman and many others have promoted their versions of an artisan bread that doesn’t require any heavy labor. While those recipes also create delicious results, they involve too many steps to be considered a real hack. I wanted something very, very simple that delivered great results in 60 seconds of prep time or less. It may take you a few tries to get below the one-minute mark, but I think you’ll enjoy the results every time! For your ciabatta you’ll need:
4 cups of all-purpose flour (do NOT pack the flour into the measuring cup) 2 cups of warm water 1 teaspoon of salt 1/4 teaspoon of granulated yeast (or equivalent)
For the gorgeous readers needing metric equivalents of this recipe, Toon left a comment with the following conversion:
500 grams of all-purpose flour 4,7 deciliter of warm water 4 grams of salt (= 1 teaspoon = 5 ml) 1 gram of dry yeast (= 1/4 teaspoon = 1,25 ml)
You’ll also need a medium-size mixing bowl, a 10×15 cookie sheet or baking stone, a hand towel or plastic wrap, and whatever you’d like to keep your bread from sticking (if you’re using a pan, I use flour and corn meal). Have everything handy? Good. Let’s do this!
1. Mix Water & Yeast
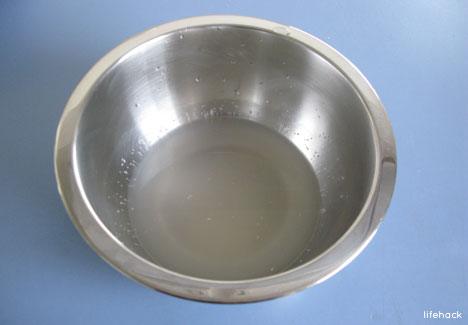
Pour the warm water into the medium-size mixing bowl and stir in the yeast with a spoon. No need to be particular, just dump and slosh.
2. Add Flour And Salt
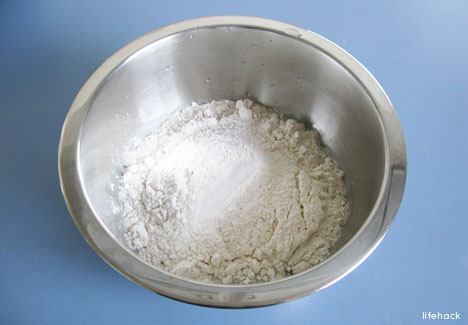
Add flour and salt to your bowl of yeasty water. This, after measuring out the flour, presents another prime opportunity to get flour on your person. This will be regarded by many as a sign of your culinary determination. You’ll need such signs because anybody who actually watches you make the bread will think you’re one of the laziest bakers in existence.
3. Stir Into A Heavy Batter
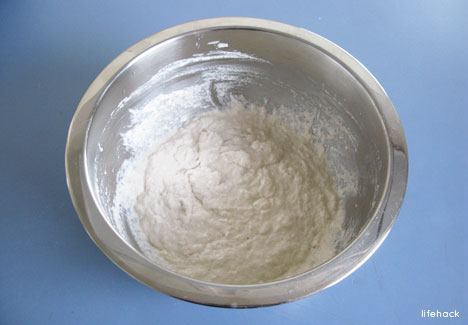
Use a spoon. You could use your hands if you wanted but you probably didn’t wash your hands before starting this anyhow. Start with a quick run about around the perimeter of the bowl with your spoon. A few quick strokes through the middle and you should have a heavy batter. If it looks too thick to be pancake batter and not thick enough to be playdough, you’re right on target.
4. Set It And Nearly Forget It
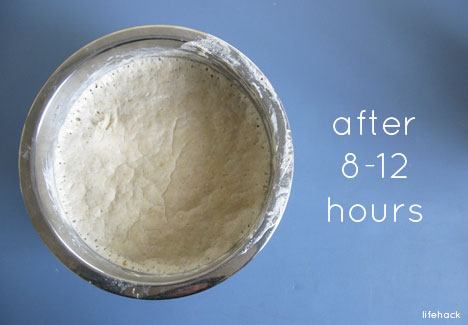
Cover your project with a hand towel or plastic wrap and set in a safe place for a few hours. After the dough has rested for 8 to 12 hours, it will have nearly doubled in size. (If you add a bit of sugar at the start and you’re in a hurry, you can rush this process but I don’t recommend it for your first try.)
5. Preheat Oven & Prepare Your Pan
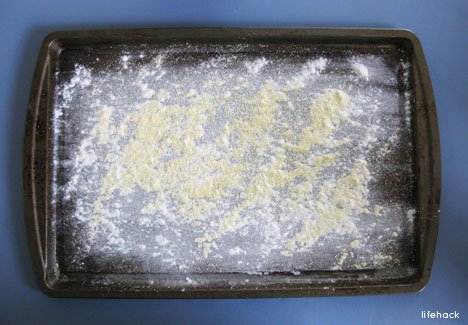
There’s a lot of room for variation at this stage. The goal is to place the dough onto a surface that will keep it from falling through the oven rack and not stick on. I use an old cookie sheet sprinkled with flour and corn meal. You can use a buttered pan, pizza stone, or baking paper. It’s up to you. The flour/cornmeal method takes only a few seconds. Before you start prepping your pan/stone, set your oven to 400F. (For those of you using wood stoves, don’t stress the particulars. Pull a few cedar shingles off the back porch roof and get that fire burning hot!)
6. Pour Out The Batter
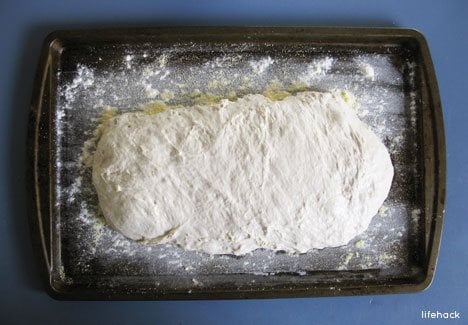
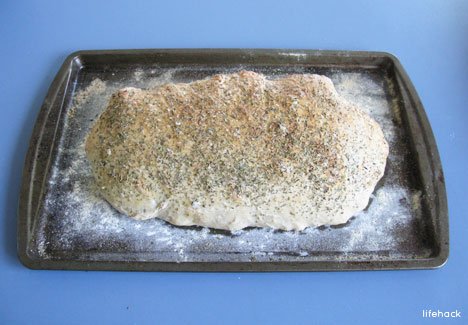
This is the fun part! Uncover the bowl of dough and slowly pour it out onto the pan you just prepared for it. You’ll want to use a spoon to guide the dough into place and get the last bits out of the bowl. The dough will be very wet and sticky. That’s okay! Get the dough out onto the pan and if you’re lucky, it’ll look something like this:
7. Add Spices (If Needed) & Place Bread Into 400F Oven
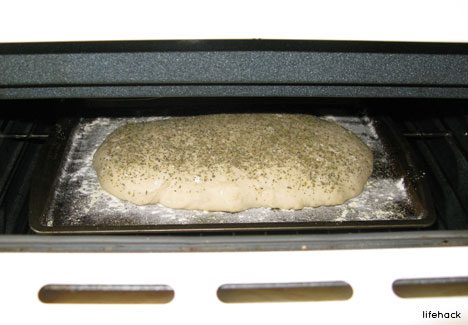
If you’re trying to stay within the one-minute prep, you probably won’t have time to sprinkle some of your favorite herbs onto your ciabatta before baking. If you’re not worried about time, some dried oregano, basil, and rosemary make a nice addition.
8. Remove Your Ciabatta From The Oven
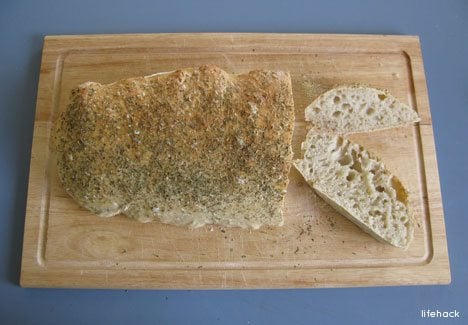
Check on your ciabatta after about 25 minutes. Once it’s golden brown on top and looks good to eat, take it out of the oven and set it aside to cool for at least 10 minutes. You can cut into it immediately but if you do it’ll collapse and won’t look as pretty. Wait! You really thought I wanted you to take a hot pan out of a 400F oven without some sort of protection? Craziness! If you don’t have an oven mitt handy, take off your shirt, fold it so there will be at least 6 layers of cloth protecting your hand, remove the pan from the oven and place in a safe spot to cool.
9. Slice & Enjoy
Move your ciabatta off the pan or baking stone and onto a proper cutting board for demolition and devouring. Ciabatta is famous as a sandwich bread but, like most breads, it’s absolutely delicious right out of the oven. Subscribe to Lifehack for more articles like this one!
Feedback Time!
Follow @lifehackorg on Twitter
