Lenses:
Bring 2 lenses if you have them at your disposal: a wide angle 24-70mm telephoto lens and a 70-200mm telephoto or larger lens. The 24-70mm captures wide angles without sacrificing the details. In fact, a lot of landscape photographs are captured with this lens. The 70-200mm lens captures tight and close up images, not just the usual panorama view.
Settings:
Auto White Balance diminishes the color of the the golden light. Therefore, manually set the White Balance to Shade or Cloudy to preserve it. The ISO setting should be 100 or less to avoid overexposure and digital noise. Nevertheless, cameras have improved tremendously and noise is often not an issue for higher ISO’s. Aside from lowering the ISO to keep the sharpness of the image, you should also adjust the depth of field to f/11 or higher. Shutter Speed should be slow since sunrise light is diffused. To capture enough light, there should be 10-20 second exposure, though some photographers do longer. If there is running water, long exposure can definitely add to the drama by making a misty effect. This can be achieved by lengthening the shutter to a full minute.
Cable Release:
Since we’re talking about long exposure, a quick release or shutter cable is a must unless you have robotic arm that can hold a camera without moving. If it’s not available, position the camera on a rock or any flat surface. To avoid further movement that can cause blurriness, use the camera timer to shoot.
Composition:
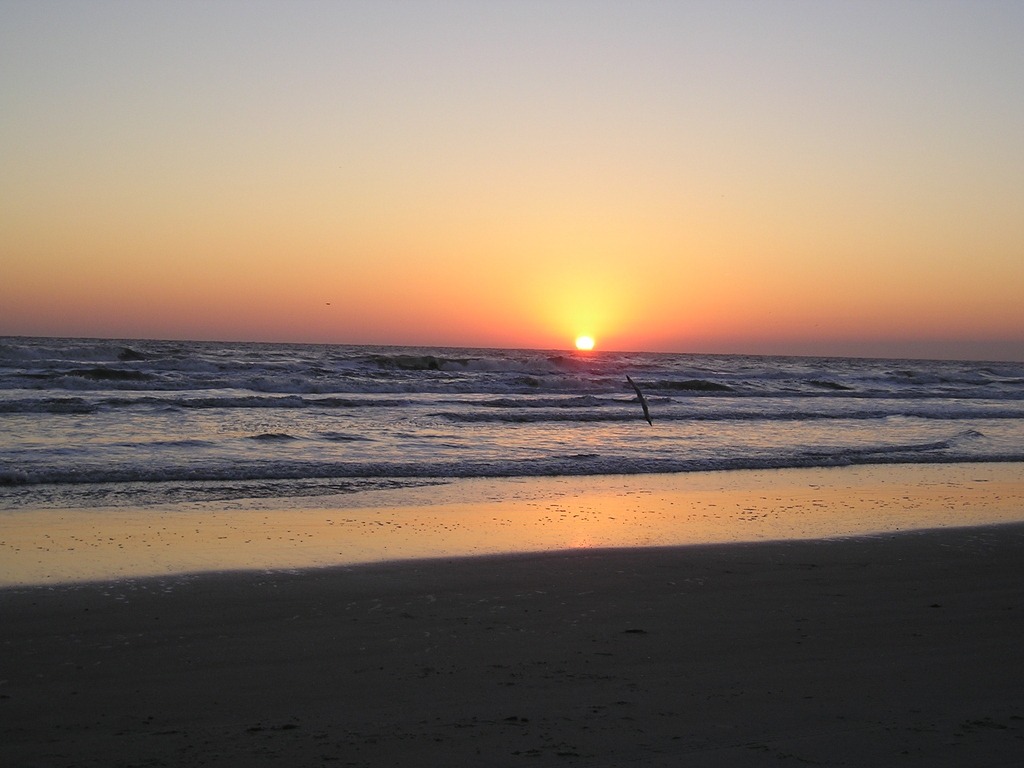
Remember the basic photography lesson the “rule of thirds?” Except when there are other aspects that make the horizon line look really amazing at dead center, it should be in the upper third of the frame. Like the horizon, the sun also shouldn’t be in the middle. Find foreground elements like a person, tree, boat, mountain, or animal. These will most likely become silhouettes because the sun is the brightest. The most important thing in the composition is the straight horizon line. Ensure that the top and bottom edges of the frame are parallel, not crooked.
Filter:
A graduated neutral density filter is advised for people who are not familiar with post-processing or don’t have time to edit. It covers the front lens of the camera. It has a clear bottom and gradually gets darker on top. It gives correct exposure to the sky and foreground by darkening the top and creating more detail in the clouds. If this is not accessible, Auto Exposure Bracketing can be brought into play. It takes 3 different exposures that can be merged later on photo editors for HDR scenes.
Lens Flare:
Although lens flare is a trend now, some landscape photographers still prefer no distraction from sun glare. Lens flare can either deliver the feeling of freshness or distract the eyes from the focal point.
Reflection:
When we talk about taking sunrise photos, light reflection from the sun onto water comes to mind. It generates a calming effect. If there is no water around, Photoshop can always help fabricate this.
Safety First:
Wear sunglasses not just to look cool, but to protect your eyes. A jacket, an umbrella, and a camera rain cover should be packed as well to protect yourself and your equipment from the harsh environment, especially if chasing a thunderstorm, to take awesome sunrise photos.